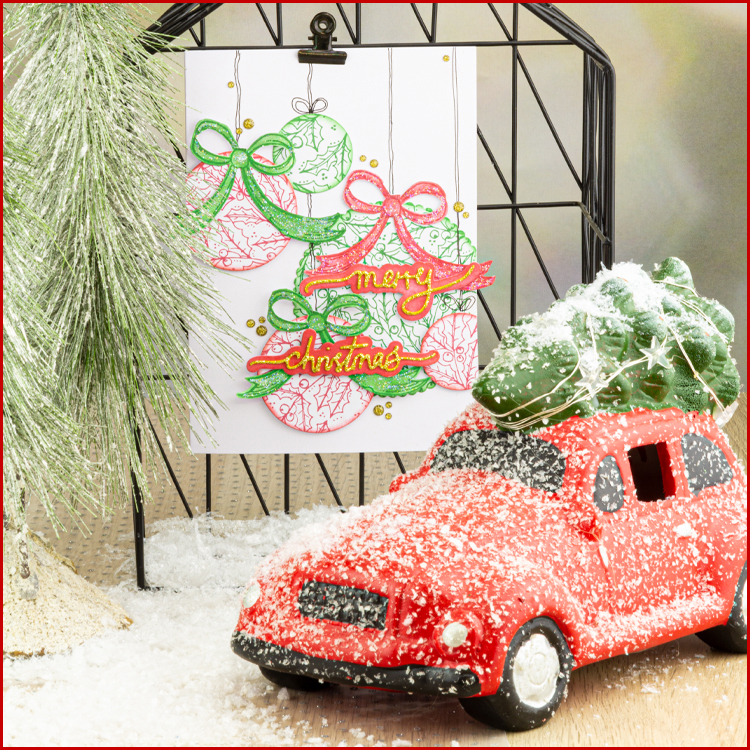
Julie Hickey Christmas card
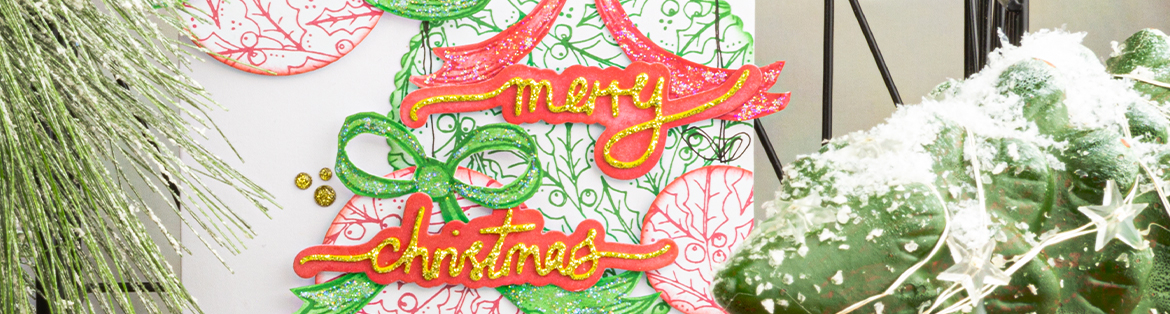
Just because a design is a background stamp, it doesn’t mean you can’t give it a totally different look! Try die cutting shapes from background stamps and see just how different they can look. Don’t be afraid to use just parts of your stamps too! The bow on my baubles is from my Under the Mistletoe Stamp set, I just stamped it out and cut that element from the design.
Sincerely, Julie Hickey, designer Sweet Huni Designs
How To:
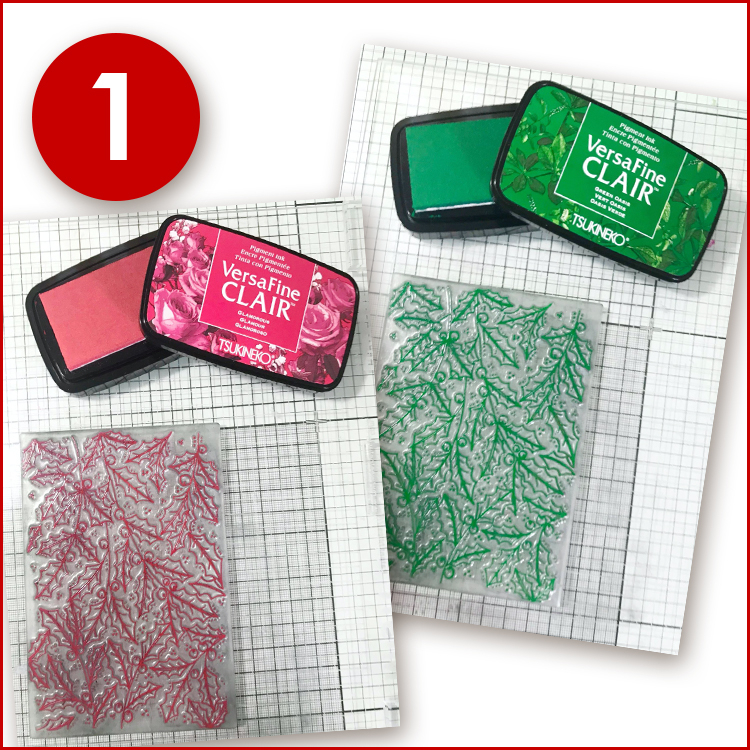
Step 1:
Ink your holly stamp using red and green ink pads and stamp onto white card stock.
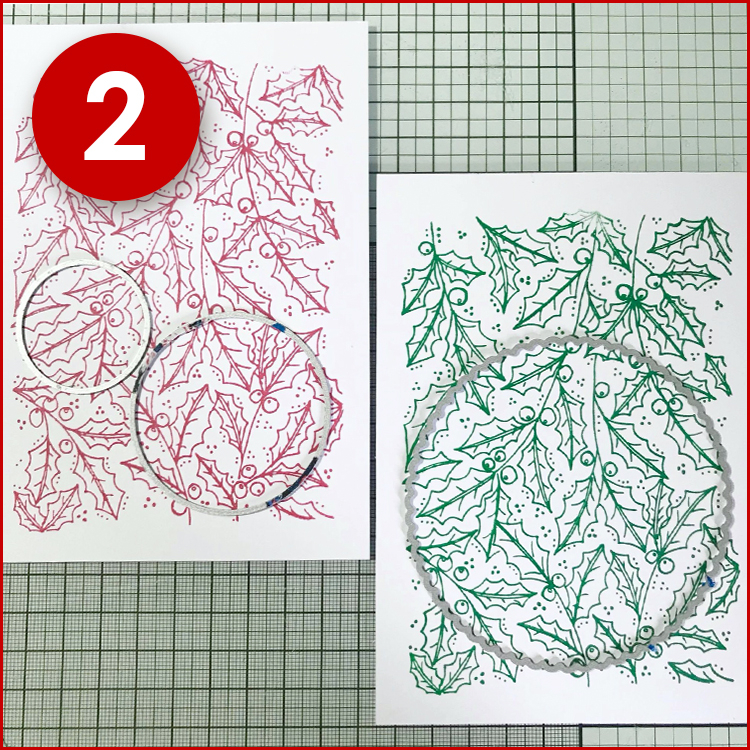
Step 2:
Using some of the circle dies from the Layers, frames and banners - circle die set, cut one large and one small in green and two medium and one small in red using your die cutting machine. These will give you the baubles for your card.
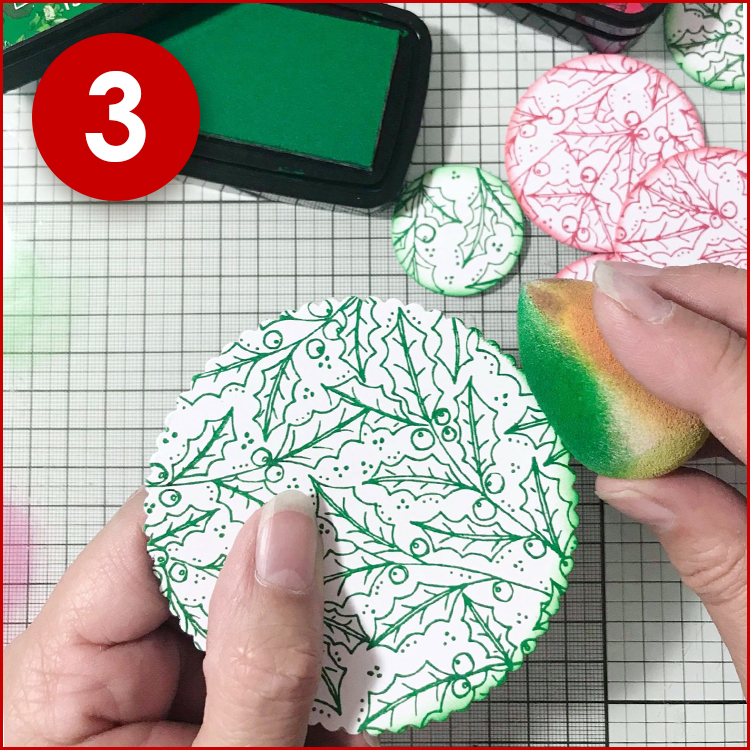
Step 3:
Once die cut, use a sponge and apply some of the colours around the edges of the stamped, die cut circles. Apply with a soft hand, you can always go back and add more, but you can’t take it away.
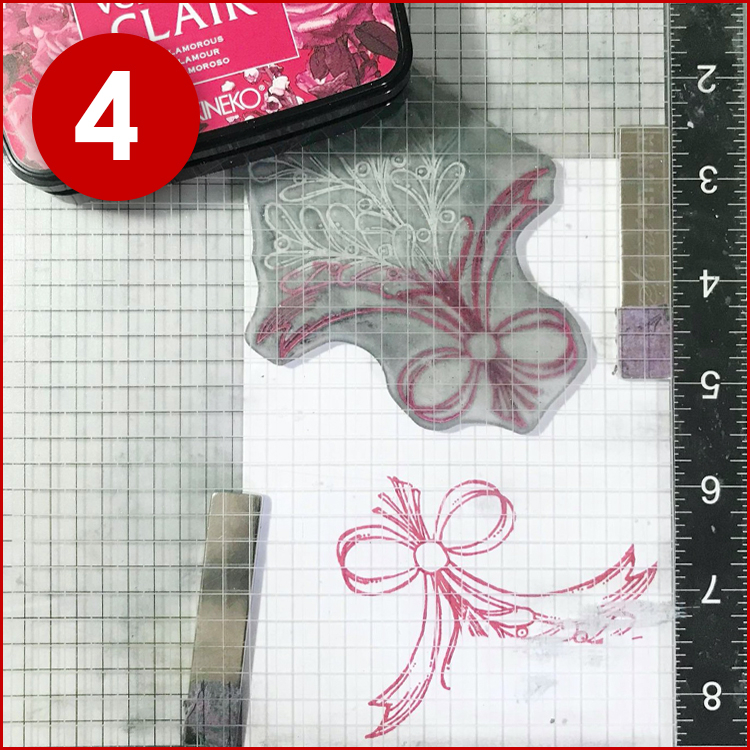
Step 4:
Using white card stock, stamp just the bow element of the Under the Mistletoe stamp set. Stamp two in green and one in red to go on co-ordinating baubles. Using scissors cut around the bow designs.
TIP: Do not cut the branch at the top of the bow away just yet, it will give you a handle to hold whilst you colour them.
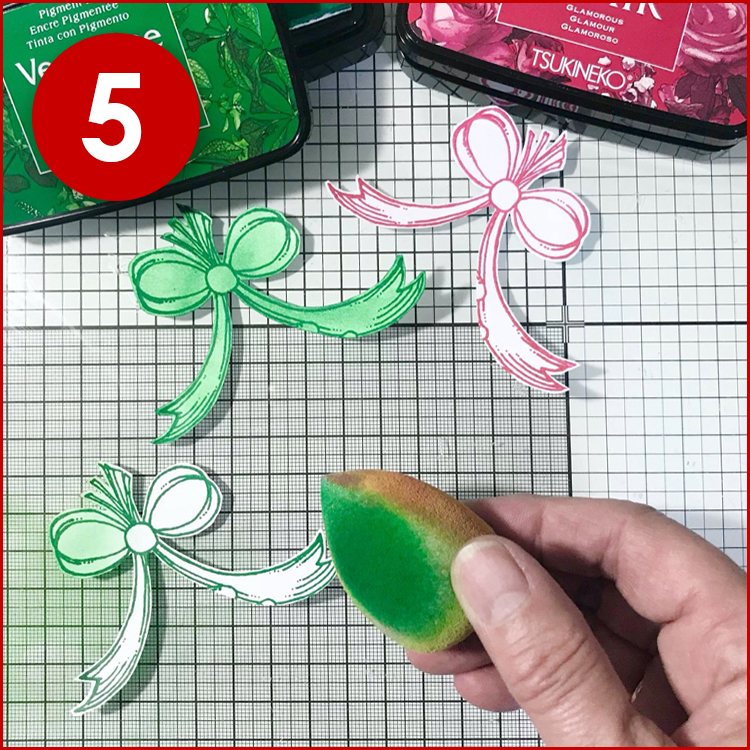
Step 5:
Using a sponge, blend colour onto each of the bows, using the branch at the top to hold whilst you blend on the colour. You can now remove the branch and cut the centres of the bow loops out.
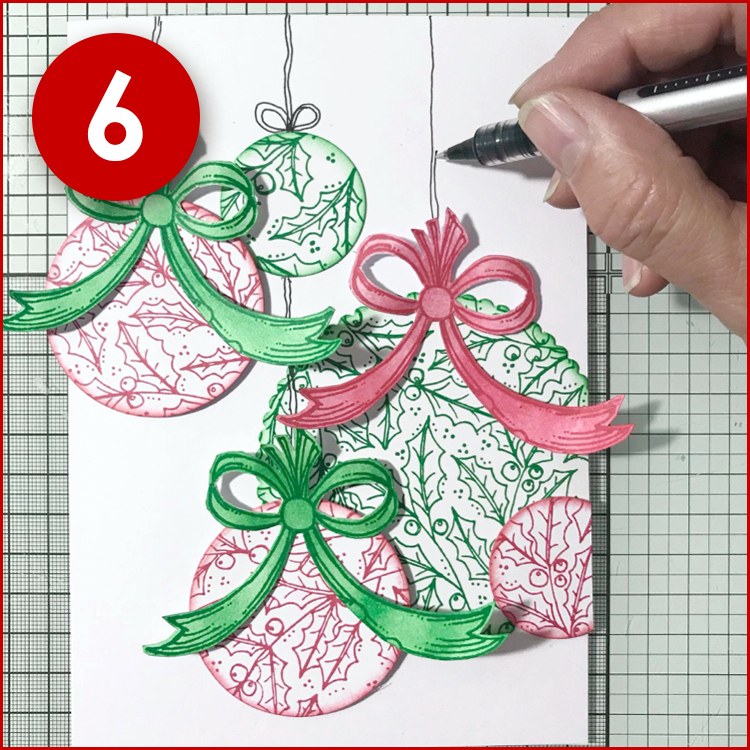
Step 6:
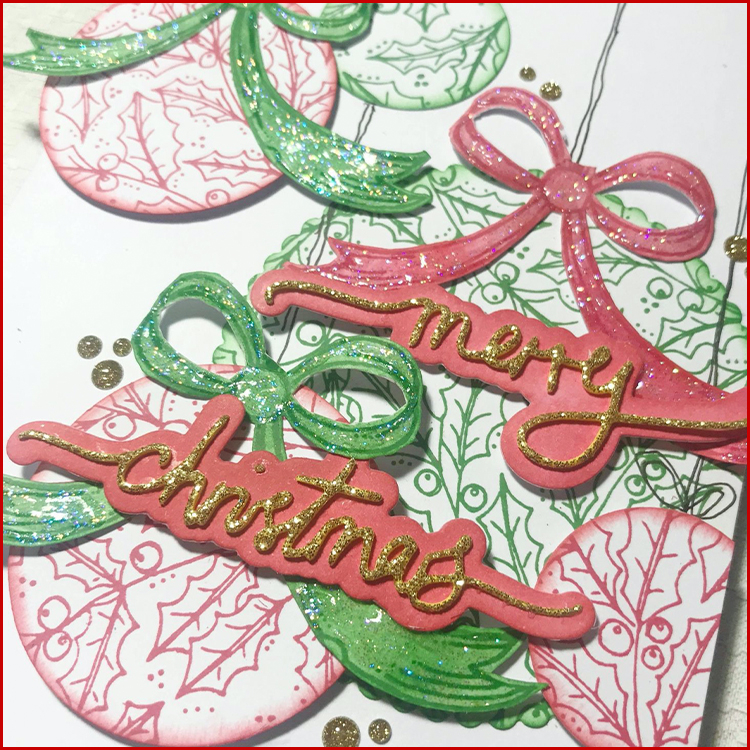
Attach the baubles to the card front, glue the green ones in place and add the red baubles using foam pads for some dimension. Glue the bows to the top of the large green bauble and the two medium red baubles. Using a fine tip black pen draw in some lines to create ‘strings’ for your baubles. You can add a hand drawn bow to the little baubles if you want to.
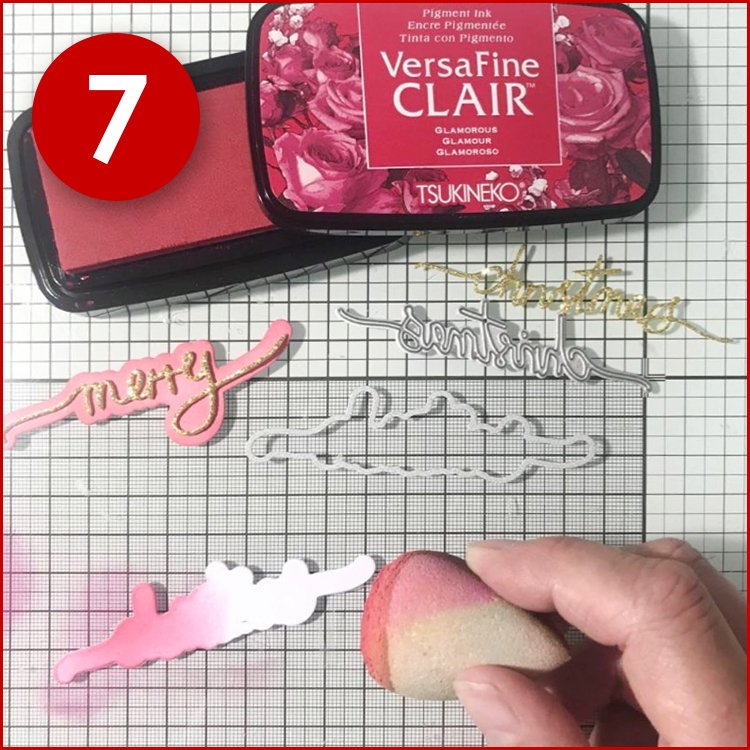
Step 7:
Using white card stock die cut both the word and the shadow from the Christmas Profile Diet Set for Merry and Christmas. Die cut just the words Merry and Christmas from the gold glitter foam sheets. Using the red ink pad with a sponge, colour the shadow die cuts, apply softly building the colour until you are happy. Glue the gold glitter words to the shadow, using the shadow as a guide to get the word spaced properly. Attach to your card using foam pads, the Merry goes on the large green bauble and the Christmas is attached over the top of the bow on the medium red bauble. Add a finishing touch of Glossies Sugar Berries to the card, using the different sizes of gold glittered dots. Apply glitter glue to your bows and leave to dry.
TIP: if using glitter glue, always apply it last and leave your work to dry flat so you won’t spoil it.
Lot's of fun!
Materials